
Track time in team #
You can invite your team members to your account, so you can track time together. There are different user roles to decide who can see and do what. The entire team is managed by administrators and managers via the web console, the apps of all members are automatically set up and synchronized and the recorded time data of all members is consolidated in the web console so that it can be used for reporting.
Invite team members #
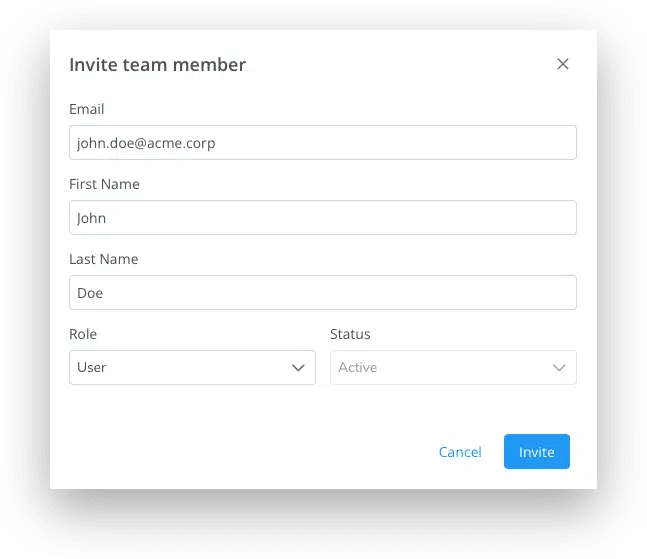
Here’s how to invite new team members:
- Log into the web console
- Go to “Team“
- Click on “Invite member”
- Enter email, first and last name
- Select user roles
- Click “Invite”
If a team member already created an own account on the homepage, you won’t be able to invite this email address, as its already created a separate account. To invite your team member to your team account, there are two options:
- Your team member can contact us to close the account
- You team member can change the e-mail address of his separate account in the profile settings so that the address becomes free again. You can read how to change profile settings in the next section.
Edit member profiles #
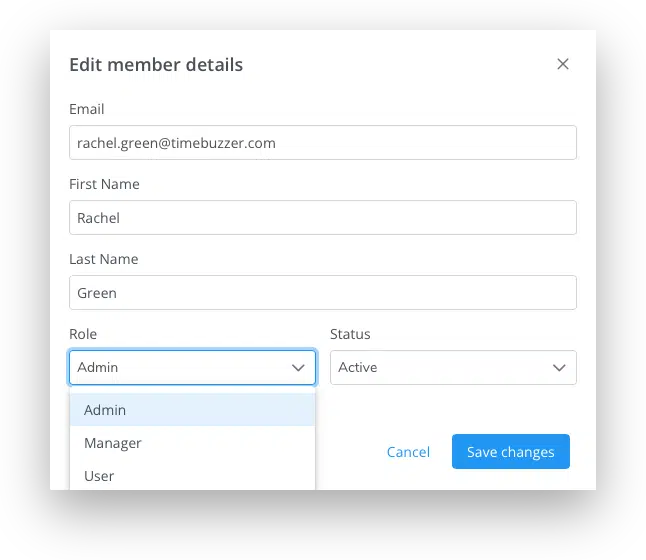
Here’s how to edit member profiles of your team members:
- Log into the web console
- Go to “Team“
- Click on a team member in the list
- Make changes
- Click “Save changes”
Assign roles and permissions #
With different user roles, you can decide who can see and do what. Learn more about the different user roles and permissions and how they differ.
Here’s how to assign user roles to your team members:
- Log into the web console
- Go to “Team“
- Click on a member
- Select a role (Admin, Manager or Regular user)
- Click on “Save changes”
Assign to groups #
You can combine several members into groups so that you can manage them more easily.
Here’s how you can add a member to a group:
- Log into the web console
- Go to “Team“
- Click on a member
- Select a group
- Click on “Save changes”
You can instead also go to “Groups” and add your team members from there.
Here you can learn more about groups in timeBuzzer.
Manage seats #
Each active member requires a seat (license). If you have more active members than seats, Pro features will be temporarily disabled. We recommend to pay for additional seats in advance if you plan to add more members. Alternatively, you can deactivate inactive team members to free up seats.
Deactivate members (Inactive members) #
Team members cannot be completely deleted to avoid historical data distortion.
Instead, team members can be deactivated. Members that are set to “inactive” can no longer log in to their account and will free up a seat for another team member. (Only active members require a seat)
Here’s how to deactivate a team member:
- Log into the web console
- Go to “Team“
- Click on a team member in the list
- Set status to “Inactive”
- Click “Save changes”
