In this article you will learn how to add time manually in timeBuzzer.
Adding time via web #
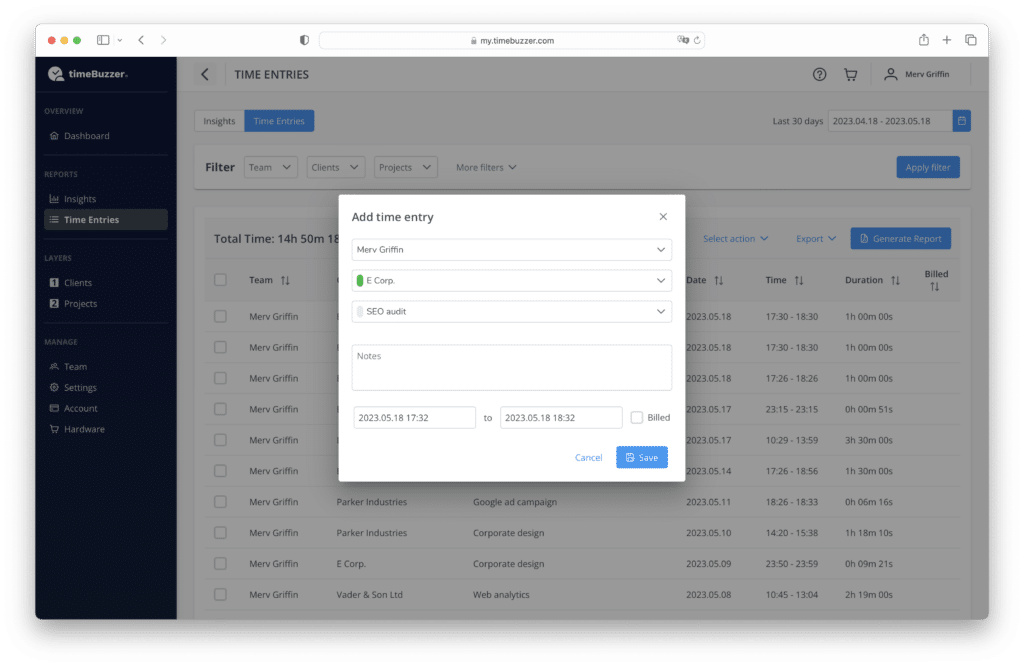
- Log in to the timeBuzzer web console
- Go to Time Entries
- Click “Add time entry”
- Select tiles (clients, projects etc.)
- Optionally, type in a note
- Set date, start and end time
- Click “Add” to add the time entry
Tip: Add time for others (Only admins and managers)
If you are an administrator or manager, you can also add time entries for others here by simply selecting a team member instead of yourself.

Adding time via desktop #
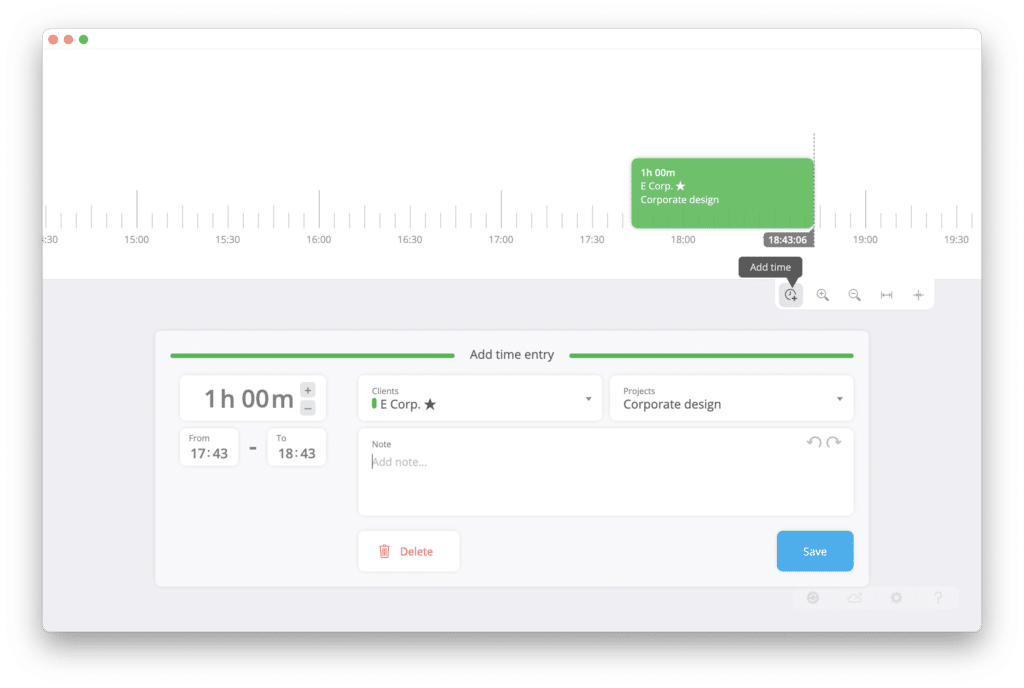
- Log in to the timeBuzzer desktop app
- Click “Add time” in the timeline tools
- Select tiles (clients, projects etc.)
- Set start, end time or modify duration
- Optionally, type in a note
- Click “Save” to add the time entry

Tip: Alternatively, you can also click with the mouse on the desired start time in the timeline and drag it to the desired end time while holding down the mouse button. (Click and drag)
Adding time via mobile #
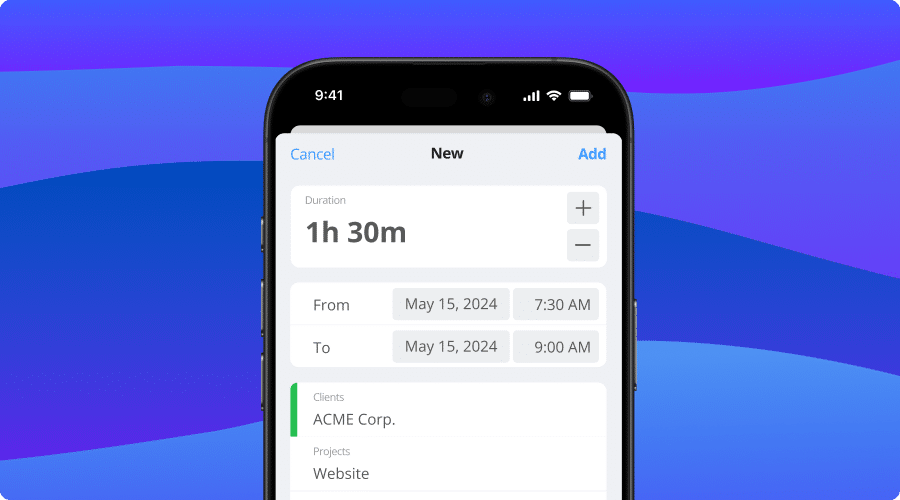
- Log in to the timeBuzzer mobile app
- Click on “time entries” to view all your time entries
- Click on “Add” to add a new one
- Set date, start and end time
- Select tiles (clients, projects etc.)
- Optionally, type in a note
- Click “Save” to add the time entry
