In this article you will learn more about how you can create and manage tiles (your clients, projects, tasks) in timeBuzzer.
What are tiles? #
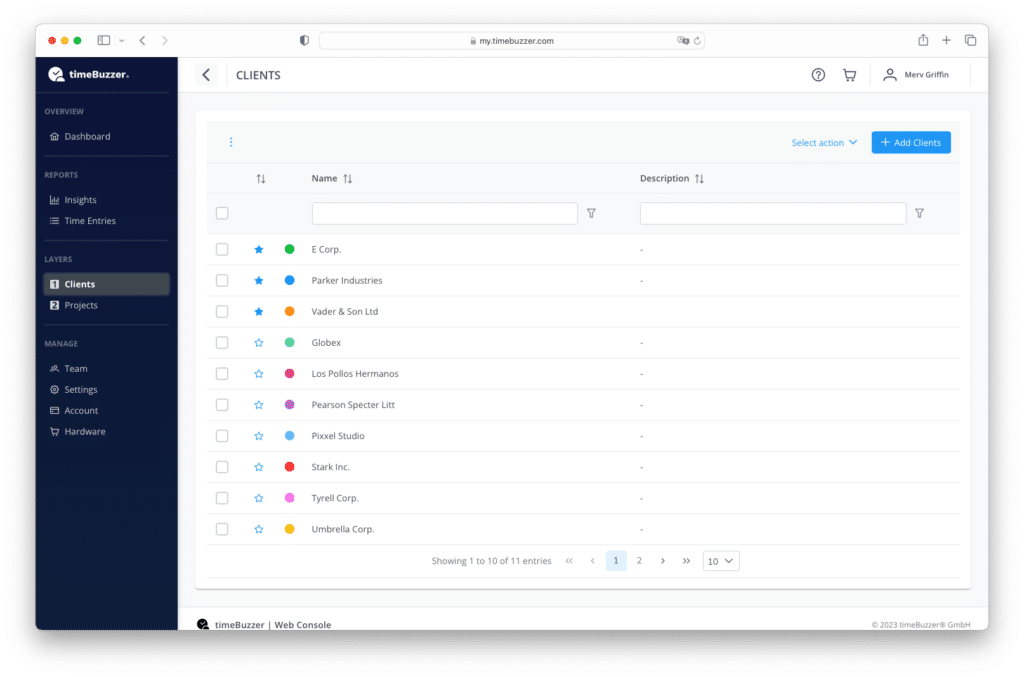
Tiles can represent different clients (e.g., Client A, Client B), projects (e.g., Project 1, Project 2), tasks (e.g., Support, Invoicing), statuses (e.g., Working, Pause), or other things you want to track your time for.
For a better understanding, here is the difference between layers and tiles:
- Layers: These are your broad categories for organizing time.
- Tiles: These are the specific elements within each layer.
Example
- Layer 1: Clients
- Tiles: Client A, Client B, Client C…
- Layer 2: Projects
- Tiles: Project 1, Project 2, Project 3…
- Layer 3: Tasks
- Tiles: Support, Invoicing, Development…
You can create an unlimited number of tiles in each layer.
You can activate up to 3 layers and name them individually. Learn more about customizing layers.
With this system, you can easily adapt timeBuzzer perfectly to your industry and your workflow.
Video: How it works #
Create a tile #
To add new clients, projects and tasks, follow the steps below:
- Log in to your web console
- Navigate to the layer
- Click “Add new”
- Enter a name (Client name, Project name…)
- Optional: Add a description
- Optional: Assign tile to parent tile
- Optional: Assign tile to members (Only for teams)
- Click “Save”
Assign tiles to parent tile #
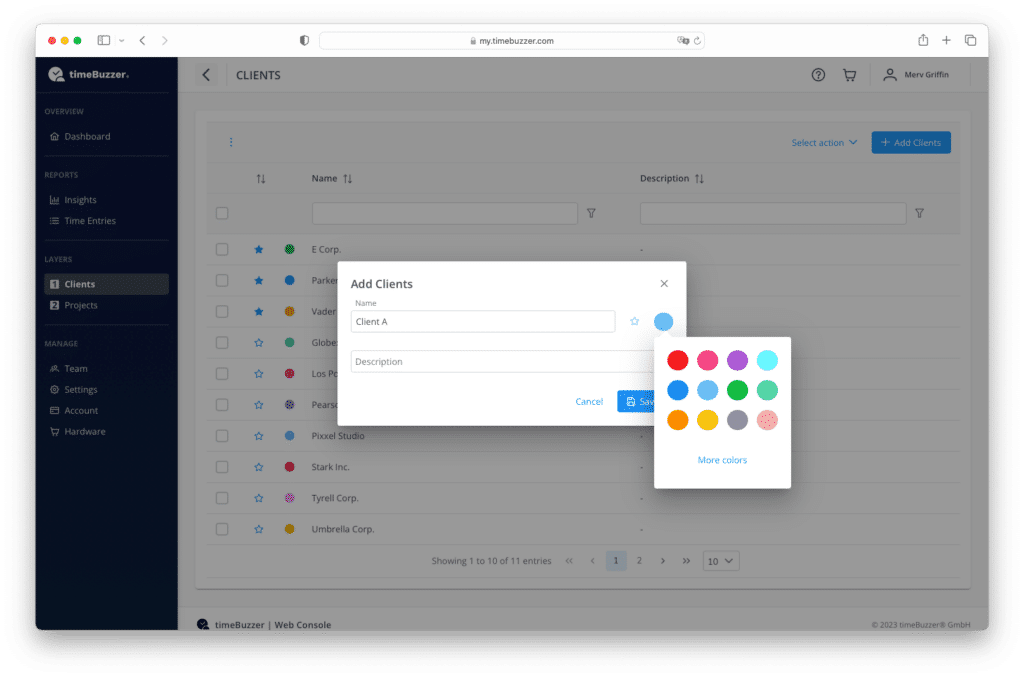
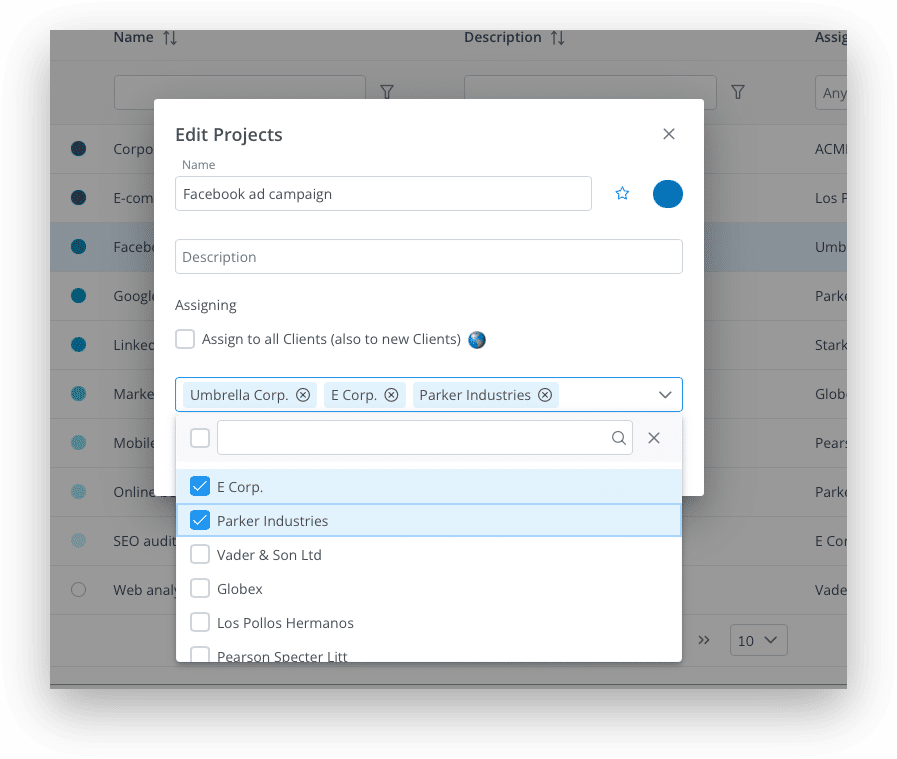
In sublayers, you must assign a tile to a tile from the parent layer.
For example, Project 1 and Project 2 are both assigned to Client A from the first layer.
If you want a tile to be assigned to all tiles from the previous layer and also automatically added to all future tiles, you can simply select “Assign to all”. (Global) This is useful, for example, if you create tasks such as “Create quote” or “Create invoice“, which are normally performed for each client.
Assign tiles to members #
In a team account, all tiles are shared with all members of the account by default, so you can track time together on the same tile. If you have tiles that are only relevant for certain members, you can also assign them to specific members only.
Tip: You can also combine several members into groups and easily assign tiles to these groups.
Edit tiles #
To edit your clients, projects and tasks, follow the steps below:
- Select the layer
- Click on the tile you want to edit
- Make the changes
- Click “Save”
Favorite tiles #
Each member can mark their own favorite tiles to be displayed with priority in the web console as well as in the desktop and mobile apps. Follow the steps below to favorite tiles:
- Select the layer
- Click on the tile you want to mark as favorite
- Click the star icon
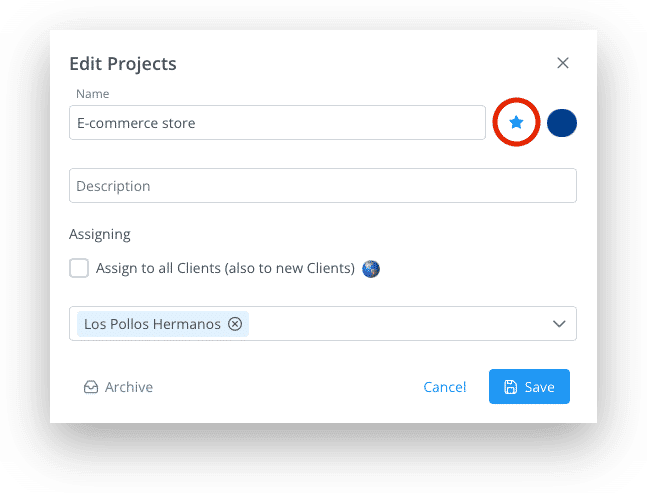
Or instead, bulk select several tiles, click on “Select action” and “Mark as favorite”.
Archive tiles #
To keep everything organized you can archive your clients, projects and tasks:
- Select the layer
- Click on the tile you want to archive
- Click “Archive”
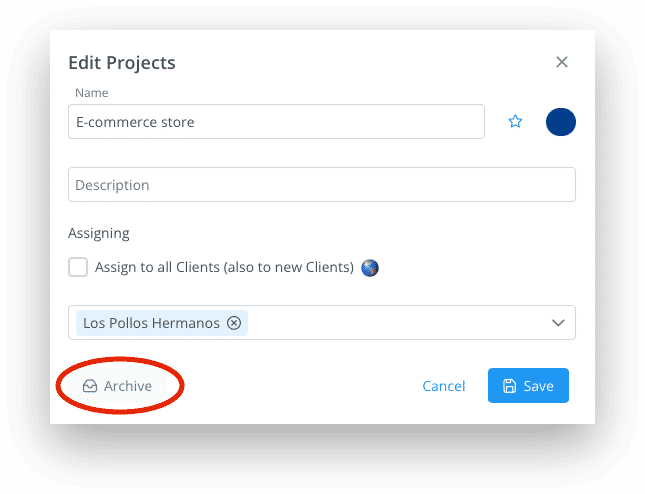
Or instead, bulk select several tiles, click on “Select action” and “Archive”.
Restore archived tiles #
To restore archived clients, projects and tasks, follow these steps:
- Navigate to the layer
- Go to archive (Click the menu icon (three dots) on the top left corner > Show archive)
- Select the tile you want to restore
- Click “Restore”
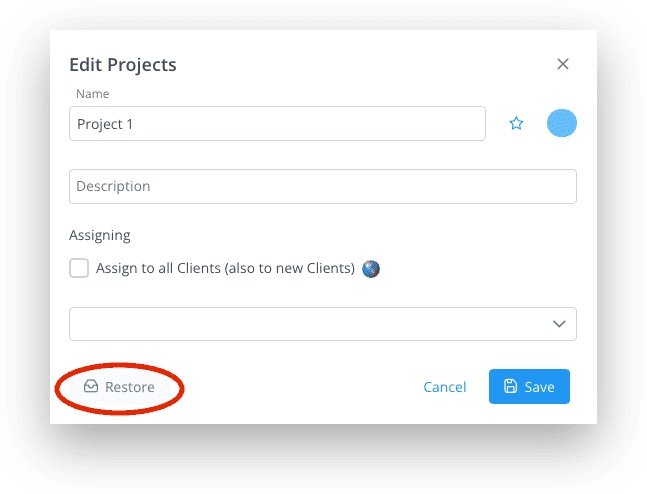
Or instead, bulk select several archived tiles, click on “Select action” and “Restore”.
Delete tiles #
To protect historical data, your clients, projects and tasks cannot be deleted completely right now. You can archive them instead to hide them without affecting previous time entries.
Coming Soon: Deletion will be available soon with a warning and confirmation prompt.
Tip: If a tile has no recorded time entries, you can also just rename it and reuse it for new clients, projects, or tasks.